To use Microsoft Azure with OneDrive/SharePoint as your storage provider, you need to follow the steps outlined below:
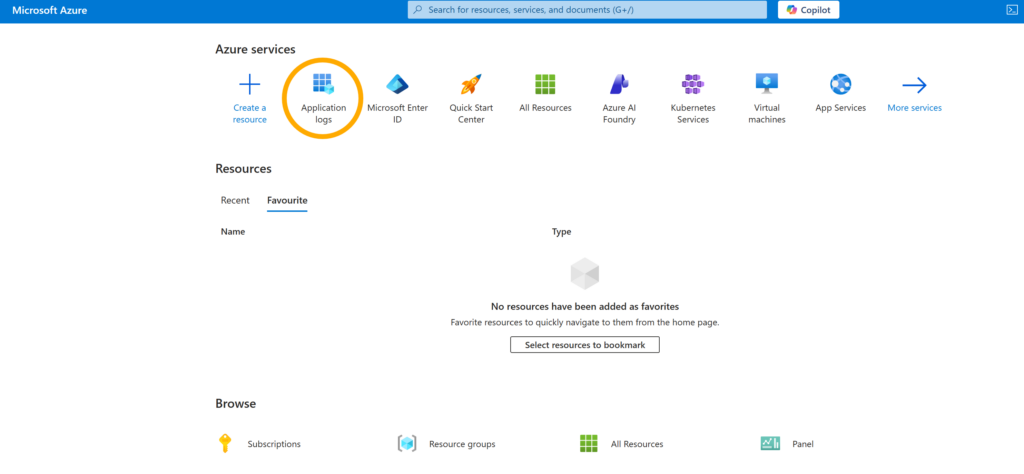
First, go to the Microsoft Azure website:
Once there, click on Application Logs:
Within Application Logs, click on New Registration. You will be asked to name your application and confirm to complete the registration. Once your application is registered, the following information will be displayed:
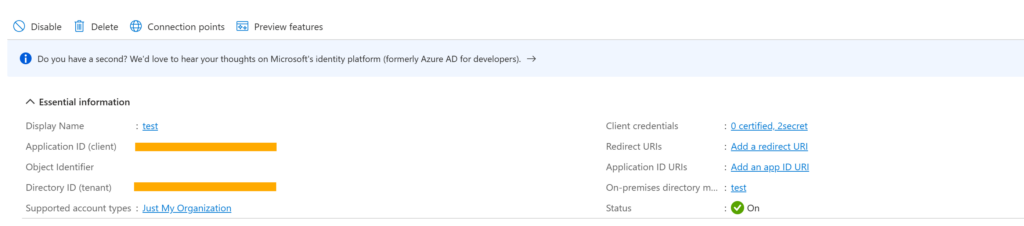
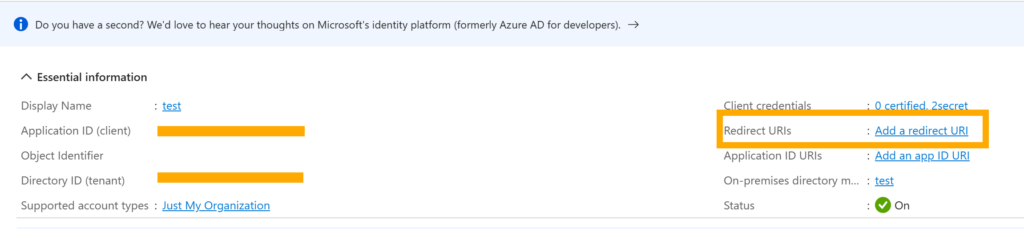
The Directory ID (tenant) is the Tenant ID, and you can now enter it in the first configuration field in xSigning. The Application ID (Client) is the Client ID, and you can also add it in the next field. For the next step, click Add a redirect URI to add the URI that appears in the xSigning settings:
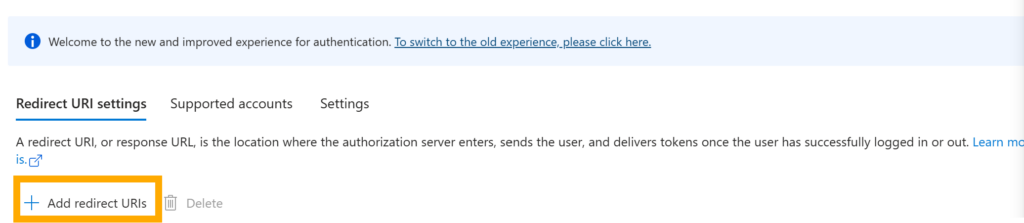
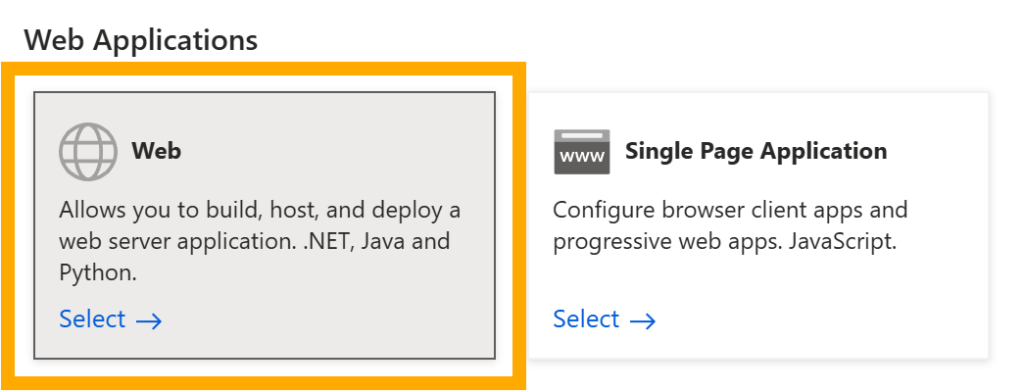
When choosing to add redirect URIs, select Web and paste the link that appears in xSigning.
Once this step is complete, we will create our Client Secret. From the side panel, click on Certificates and Secrets and then on New Client Secret.
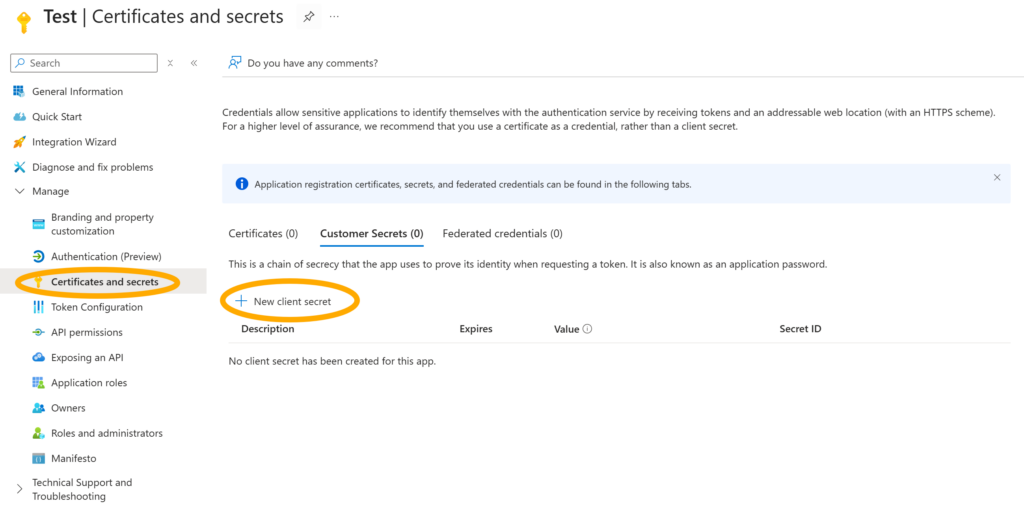
You will be asked to provide a name and an expiration date. Once created, it is very important to copy the code that appears in the “Value” field and save it, as it will no longer be visible later on. This is the Client Secret that we will need in our xSigning settings.

The final step is to obtain our Site ID. To do this, the easiest way is to access the following URL once we’ve created the group (site) in SharePoint where we want to store our documents, replacing the “x” with the name of our group:
https://msdntym.sharepoint.com/sites/xxxxxxxxxxxx/_api/site/id
When you do this, you’ll see a string of data; the last part is your Site ID, which you must enter in xSigning.
Finally, the folder name field is entirely optional, use it if you want your documents stored in a specific folder within your site.
Once all the data is ready, all you have to do is click the AUTHORIZE button, and once authorized, confirm. This will save your storage settings completely.